
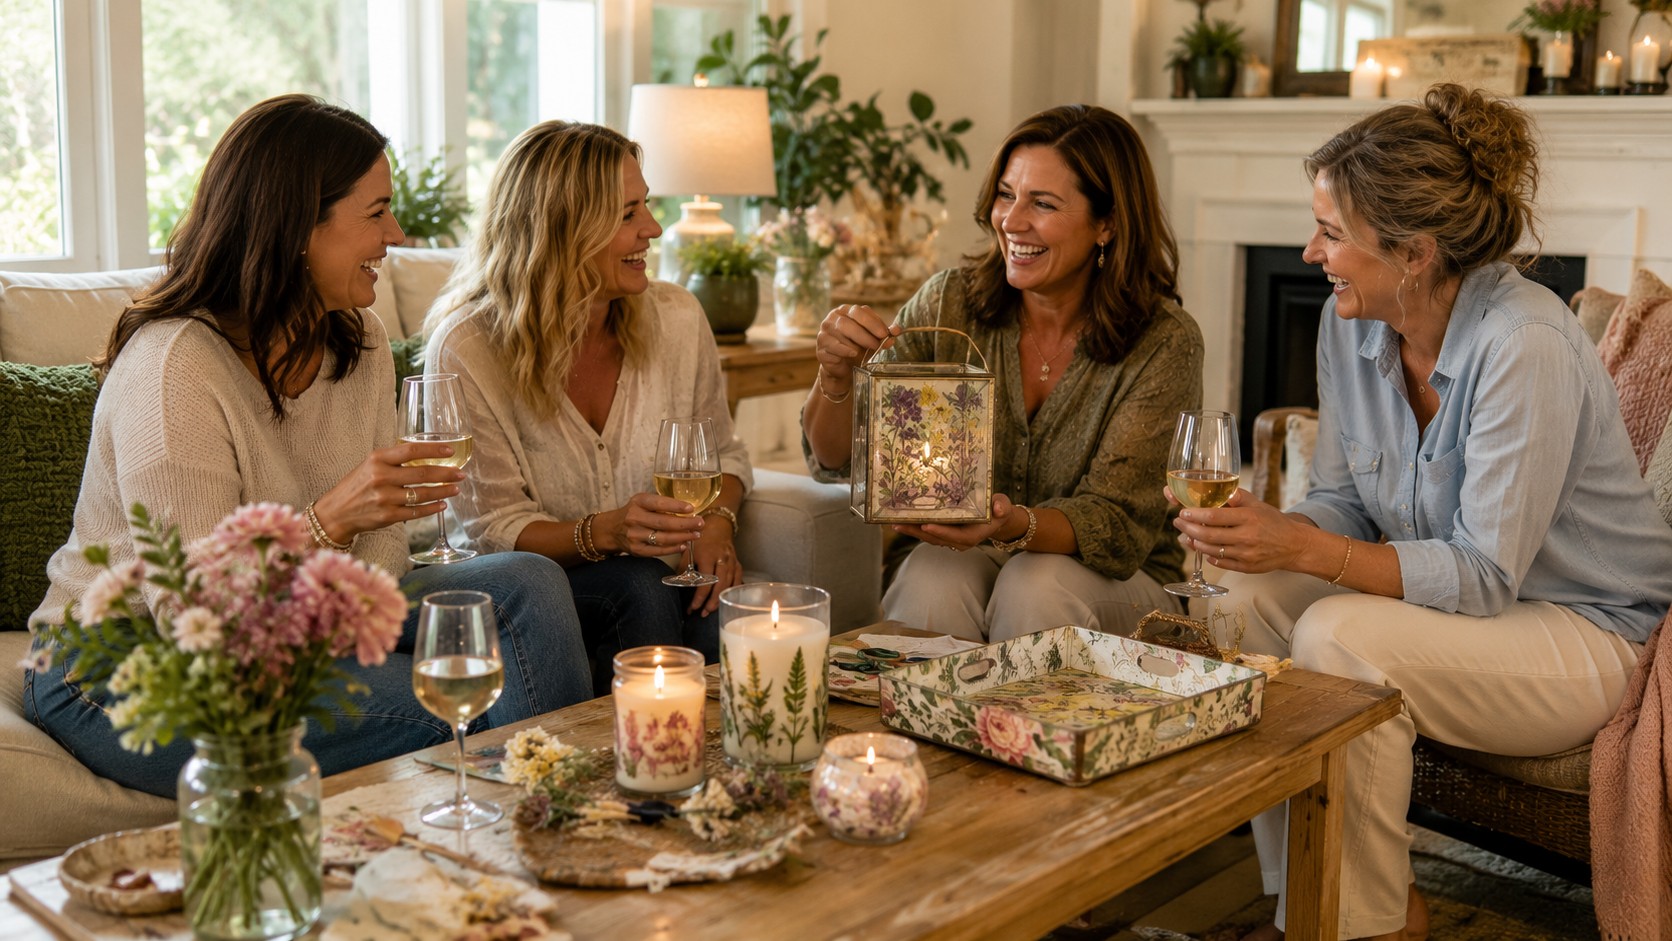
Gather Your Favorite People and Make Something Beautiful
There was a time when “craft night” meant glitter, popsicle sticks, and projects that ended up in the back of a closet. Thankfully, those days are long gone.
Today’s adult craft nights are about creating beautiful home décor, slowing down for an evening, and spending meaningful time with friends. Whether you’re planning a girls’ night in, celebrating a birthday, hosting a book club, or simply looking for a creative way to connect, the right DIY project can turn an ordinary evening into one everyone remembers.
The best part? You don’t need to be an artist.
Every project in this collection is beginner-friendly, stylish enough to display in your home, and simple enough to complete during a relaxed evening together. Instead of crafts that feel childish or overly complicated, these ideas focus on timeless pieces you’ll actually use, from elegant candles and botanical décor to charming terrariums and handmade serving trays.
Light a few candles, put together a charcuterie board, turn on your favorite playlist, and invite your friends over. Your next favorite tradition might just be craft night.
Looking for another cozy project after craft night? Save these DIY winter crafts you’ll love to make this season for chilly weekends, holiday gatherings, and relaxing afternoons at home.
Host Setup Checklist
- Keep it simple: Choose projects that take 1 to 2 hours with minimal setup so guests can relax and chat.
- Prep workstations: Set out aprons, small tool containers, and baby wipes for easy cleanup before guests arrive.
- Set the mood: Soft lighting, a casual playlist, and a simple charcuterie board create a cozy setting without extra stress.
1. Hand-Poured Soy Candles

There’s a reason candle making has become one of the most popular adult craft workshops. It’s surprisingly easy, wonderfully relaxing, and everyone leaves with something they’ll enjoy for months.
Instead of buying another candle for your coffee table or bedside, you can create one that’s completely personalized with your favorite scent, vessel, and label. Amber jars, matte ceramic containers, or simple glass vessels all create a boutique-inspired look that feels right at home in almost any decorating style.
Quick Facts
Skill Level: Beginner
Time Required: About 60 minutes, plus cooling time
Approximate Cost: Moderate
Perfect For: Girls’ nights, birthdays, book clubs, housewarming gifts
Supplies You’ll Need
- Soy candle wax
- Candle wicks
- Heat-safe jars or containers
- Fragrance oil or these essential oils
- Double boiler or wax melting pitcher
- Wick stickers
- Wooden stirring stick
- (Optional) labels or ribbon
Basic Steps
Melt the soy wax according to the manufacturer’s directions, then allow it to cool slightly before stirring in your fragrance. Secure the wick inside your container, slowly pour in the wax, and keep the wick centered as it cools. Once fully set, trim the wick and add a simple label if you’d like.
Why You’ll Love It
Every guest can choose a different fragrance, making each candle feel personal. The finished result looks like something you’d happily pick up at a local artisan market or home décor shop.
2. Pressed Flower Lanterns

If you’re looking for a project that instantly feels elegant, pressed flower lanterns are hard to beat. Delicate dried flowers paired with soft candlelight create a timeless piece that looks beautiful on dining tables, bookshelves, patios, or mantels.
The technique is beginner-friendly, but the finished result looks far more impressive than the effort required. Every lantern turns out slightly different, making each one feel personal and one of a kind.
Quick Facts
Skill Level: Beginner
Time Required: About 45–60 minutes
Approximate Cost: Moderate
Perfect For: Garden parties, spring gatherings, birthdays, bridal showers
Supplies You’ll Need
- Glass lanterns or large glass candle holders
- Pressed flowers and greenery
- Mod Podge
- Soft paintbrush
- Battery-operated candle or real pillar candle (be sure to check size of candle to glass lantern or glass holder)
- Tweezers (optional)
Basic Steps
Arrange the pressed flowers on the outside of the glass until you’re happy with the design. Working in small sections, apply a thin coat of decoupage medium, gently press each flower into place, and seal with another light coat. Allow everything to dry completely before adding your candle.
Why You’ll Love It
Even first-time crafters can create something that looks professionally made. They’re beautiful for entertaining, seasonal decorating, or gifting to someone who loves flowers.
3. Botanical Decoupage Serving Tray

A decorative serving tray is one of those home accessories that never goes out of style. Use it on a coffee table, bathroom vanity, kitchen counter, or ottoman to instantly make a space feel more pulled together.
This version uses simple decoupage techniques with beautiful decorative papers to create a custom tray that looks high-end without requiring advanced crafting skills.
Quick Facts
Skill Level: Beginner
Time Required: About 60–90 minutes, plus drying time
Approximate Cost: Moderate
Perfect For: Home décor lovers, hostess gifts, housewarmings
Supplies You’ll Need
- Unfinished wooden tray
- Acrylic paint (brushes included in this set) or a Wood stain
- Decorative decoupage paper, rice paper, or botanical prints
- Mod Podge
- Foam brush or paintbrush
- Craft knife
- Ruler
- Optional clear finishing resin or Dimensional Magic for added durability
Basic Steps
Paint the tray and allow it to dry completely. Do no paint the interior where you plan to place your decorative paper. Cut your decorative paper into sections that fit your design, then apply Mod Podge beneath each piece while smoothing away air bubbles as you work. Trim the edges carefully and finish with a protective topcoat. For a glossy, durable finish, apply a clear resin or Dimensional Magic after the Mod Podge has fully cured.
Why You’ll Love It
Because the design possibilities are endless, every guest can create something that matches their own decorating style. Try vintage botanical prints, blue-and-white chinoiserie patterns, William Morris florals, herb illustrations, or Italian-inspired lemon motifs for a sophisticated finish.
4. Air-Dry Clay Leaf Trinket Dish

Sometimes the simplest projects create the most beautiful results.
A leaf-imprint catchall dish captures the intricate details of nature and transforms them into a functional piece you’ll use every day. It’s perfect for holding rings, earrings, keys, loose change, wrapped candies, or even a tealight candle.
Every dish captures the delicate veins and curves of a real leaf, creating a keepsake that feels like a tiny piece of nature preserved in clay.
Quick Facts
Skill Level: Beginner
Time Required: About 45 minutes, plus drying time
Approximate Cost: Budget-Friendly
Perfect For: Nature lovers, fall gatherings, everyday home décor
Supplies You’ll Need
- Air-dry clay
- Fresh leaves with prominent veins
- Rolling pin
- Craft knife and tools set and a more budget-friendly set
- Small bowl (for shaping) or this glass bowl
- Acrylic paint
- Clear sealer
Basic Steps
Roll the clay to an even thickness, then firmly press a fresh leaf into the surface to create a detailed impression. Remove the leaf, trim around the shape, and gently curve the clay over an upside-down bowl while it dries. Once fully dry, paint the dish in your favorite color and seal it for durability.
Why You’ll Love It
Nature does most of the decorating for you. The delicate veining creates an organic design that’s difficult to replicate by hand, giving each finished dish a handcrafted, artisan feel.
5. Painted Terracotta Herb Pots

Few projects are as versatile as painted terracotta pots. They’re affordable, easy to personalize, and just as beautiful on a sunny windowsill as they are on a covered porch.
Instead of using bright colors or playful patterns, choose soft neutrals, botanical illustrations, or simple stripes for a timeless look that complements almost any decorating style.
Quick Facts
Skill Level: Beginner
Time Required: About 45–60 minutes
Approximate Cost: Budget-Friendly
Perfect For: Garden lovers, spring gatherings, housewarming gifts
Supplies You’ll Need
- Terracotta pots
- Acrylic paint
- Small paintbrushes
- Painter’s tape (optional)
- Outdoor-safe sealer
- Herb plants or succulents
Basic Steps
Clean the pots thoroughly before painting. Apply one or two thin coats of acrylic paint, allowing each coat to dry before adding simple designs, stripes, botanical motifs, or labels. Finish with a protective sealer, then plant fresh herbs or small succulents once everything has dried completely.
Why You’ll Love It
Every guest can create a completely different design while following the same simple process. The finished pots are practical, beautiful, and make thoughtful gifts throughout the year.
6. Mini Succulent Terrariums

Terrariums have become one of the most popular DIY workshops for good reason. They’re beautiful, surprisingly easy to assemble, and bring a little greenery indoors without requiring a large garden or a green thumb.
Because every guest chooses their own plants, stones, and decorative accents, each terrarium becomes a unique miniature landscape.
Quick Facts
Skill Level: Beginner
Time Required: About 45–60 minutes
Approximate Cost: Moderate
Perfect For: Plant lovers, birthdays, garden parties, housewarming gifts
Supplies You’ll Need
- Clear glass container or this Geometric glass container
- Small gravel pebbles
- Activated charcoal
- Potting mix suitable for succulents
- Small succulents
- Decorative moss
- Small stones or natural accents
- Mini succulent plant tools set
Basic Steps
Begin by adding a thin layer of pebbles for drainage, followed by a small amount of activated charcoal and succulent potting mix. Arrange the plants, then finish with moss, decorative stones, or other natural accents. Wipe the inside of the glass clean before displaying.
Why You’ll Love It
Terrariums encourage creativity without requiring artistic skills. Every arrangement looks different, making them perfect for groups where everyone wants to personalize their project.
7. Vintage-Inspired Lace Glass Vases

It’s amazing what a little paint and lace can do.
These elegant glass vases begin as ordinary mason jars or recycled glass containers and become timeless décor that works beautifully with fresh flowers, dried stems, or even battery-operated fairy lights.
They’re inexpensive, beginner-friendly, and surprisingly sophisticated.
Quick Facts
Skill Level: Beginner
Time Required: About 45 minutes, plus drying time
Approximate Cost: Budget-Friendly
Perfect For: Bridal showers, vintage-inspired gatherings, seasonal decorating
Supplies You’ll Need
Basic Steps
Clean and dry the glass thoroughly before painting. Once the paint has fully dried, wrap the lace around the jar using Mod Podge to secure it in place. Finish with a light sealing coat over the lace and allow everything to dry before styling with flowers.
Why You’ll Love It
The transformation is dramatic for such a simple project. These vases look elegant on dining tables, mantels, bookshelves, and wedding tables, making them a craft you’ll enjoy displaying long after the evening ends.
8. Vintage Botanical Decoupage Mint Tin

A small metal mint tin may not look like much at first, but with beautiful decoupage paper, it becomes a charming little keepsake you’ll actually use.
Fill it with sewing supplies, lip balm, jewelry, business cards, bobby pins, gift cards, earbuds, or tiny travel essentials. It’s the kind of handcrafted piece that feels both practical and personal, making it a wonderful project for an adult craft night.
Because everyone chooses their own paper design, no two tins ever look exactly alike.
Quick Facts
Skill Level: Beginner
Time Required: About 45–60 minutes, plus drying time
Approximate Cost: Budget-Friendly
Perfect For: Handmade gifts, travel accessories, bridesmaid gifts, party favors
Supplies You’ll Need
- Empty metal mint tin
- Decorative decoupage paper or rice paper
- Mod Podge
- Small foam brush or soft paintbrush
- Precision scissors or craft knife
- Fine sandpaper (optional)
- Clear acrylic sealer or gloss varnish (optional)
Basic Steps
Clean the tin thoroughly before beginning. Cut decorative paper to fit the lid and sides, then apply a thin layer of Mod Podge and carefully smooth the paper into place. Trim away any excess paper and allow it to dry completely before adding several thin protective coats of Mod Podge. For an even smoother, more durable finish, seal with a clear gloss varnish after the final coat has cured.
Why You’ll Love It
This project is inexpensive, beginner-friendly, and surprisingly satisfying. Layered botanical papers, vintage florals, delicate script, or watercolor illustrations transform an ordinary mint tin into a beautiful keepsake you’ll actually use.
*If your group enjoyed making beautiful things by hand, they’ll also love these DIY makeup ideas you’ll actually use, including lip stain, tinted balm, bronzer, and other beginner-friendly beauty projects.
Host Quick-Guide FAQ
What supplies should I have on hand?
Set up a central tray with basic tools so guests can grab what they need: acrylic paints, foam brushes, Mod Podge, craft scissors, painter’s tape, paper towels, and baby wipes for quick cleanups.
How many people should I invite?
Four to eight guests is ideal—it keeps the group small enough for everyone to work comfortably around one table while sharing supplies.
How long does an adult craft night take?
Plan for 2 to 3 hours. This leaves plenty of time to snack, chat, and complete the project without feeling rushed.
What is a realistic budget?
Most of these projects cost around $10 to $30 per person, depending on what supplies you already have at home.
What is the easiest project for complete beginners?
Painted terracotta pots and lace glass vases are the most forgiving—they’re inexpensive and look great even if it’s your first time crafting.
A great craft night isn’t about creating something perfect. It’s about slowing down, sharing ideas, laughing with friends, and enjoying the satisfaction of making something with your own hands.