
This post may contain affiliate links. As an Amazon Associate, the site earns from qualifying purchases at no extra cost to you.
Pressed flower art is one of those crafts that feels both timeless and personal — a way to preserve a moment, a season, or a walk through the garden in something you can frame and keep. But if you’ve ever tried it and ended up with curled petals, faded colors, or flowers that fell apart when you glued them down, you’re not alone.
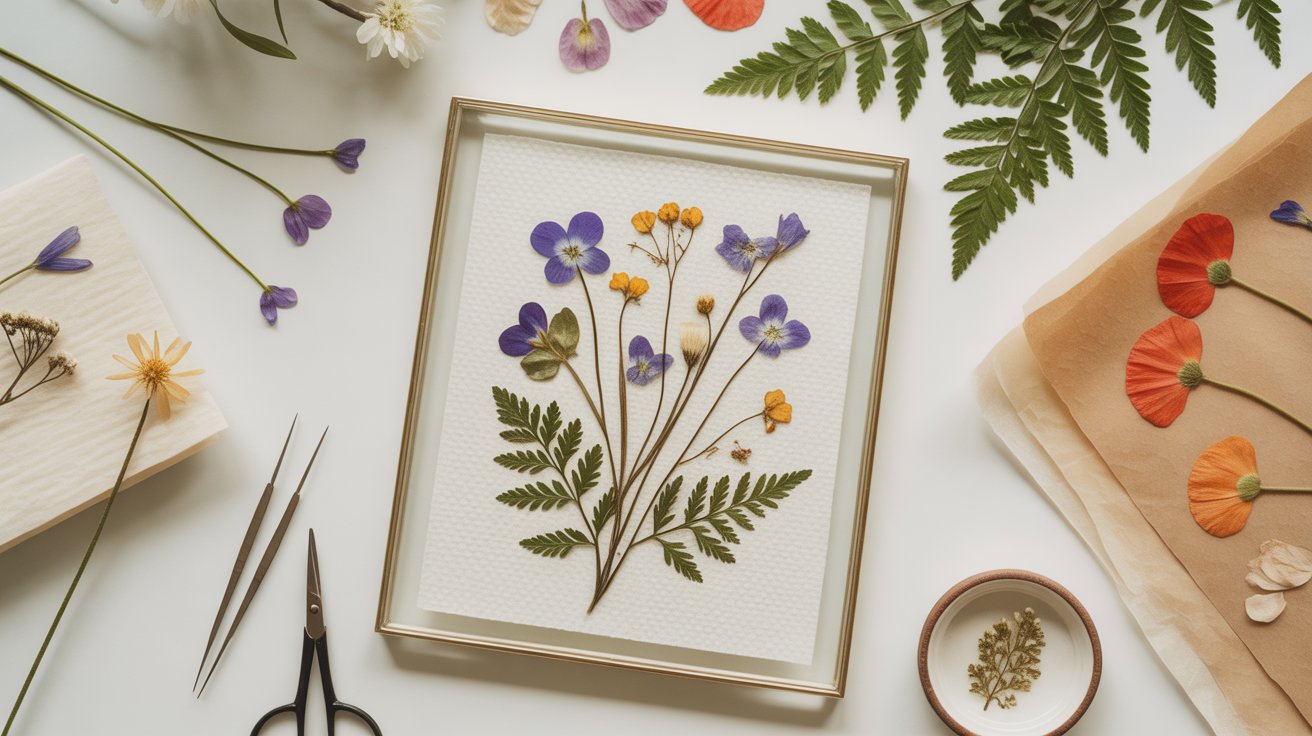
The beauty of pressed flower art is in the details: choosing the right blooms, drying them properly, and arranging them with intention. In this guide, you’ll learn a clear, beginner-friendly way to press flowers and turn them into simple artwork you’ll actually feel proud to display — no special tools required, just patience and a little care.
Pro Tip: Flat flowers with thin petals (like pansies, daisies, cosmos, and ferns) are much easier to work with than thick blooms like roses. Starting with the right flowers makes every step after this more successful.

Why Pressed Flower Art Is Worth Making
Pressed flower art lets you capture something fleeting and turn it into something lasting. It can be decorative, sentimental, or simply a way to slow down and notice small details in nature. Whether you’re saving flowers from your garden, a bouquet, or a meaningful day, each piece becomes a quiet record of time and place.
It’s also an approachable craft. You don’t need expensive tools or advanced skills — just a few supplies and a little patience.
What You’ll Need
- Fresh flowers or leaves (thin blooms work best)
- Absorbent paper (parchment paper, blotting paper, or plain printer paper)
- A heavy book or flower press
- Tweezers (optional but helpful)
- Cardstock or watercolor paper for your background
- Craft glue or archival glue with a fine tip
- A flat surface for arranging
Pro Tip: Avoid flowers with thick, bulky centers when you’re starting out. They’re harder to dry evenly and more likely to brown.
How to Make Pressed Flower Art (Step by Step)
Step 1: Choose and Prepare Your Flowers
Pick flowers that are freshly opened and completely dry. Shake off any dirt or insects and trim away excess stem.
If the petals feel damp, let the flowers sit out for about an hour before pressing. Removing surface moisture helps prevent browning.
Step 2: Arrange Flowers for Pressing
Lay one sheet of absorbent paper on a flat surface. Place flowers face down and gently spread the petals so they lie flat in the shape you want to preserve.
Make sure:
- Flowers do not overlap
- Petals are not folded
- Leaves are fully supported
Place another sheet of paper on top to sandwich the flowers.

Step 3: Press the Flowers
Slip the paper and flowers inside a heavy book or flower press. Add extra weight on top if needed.
Leave undisturbed for:
- 1–2 weeks for thin petals
- 2–3 weeks for thicker blooms
Pro Tip: Opening the book too often lets moisture back in. Let time do the work.
Step 4: Check for Dryness
Your flowers are ready when they feel papery, lightweight, and completely dry.
If they still feel flexible or cool to the touch, press them for a few more days.

Step 5: Plan Your Artwork Layout
Before gluing anything, arrange your dried flowers on your background paper. Try different designs:
- A single centered bloom
- A loose cluster
- A botanical row
- A symmetrical pattern
Once you like the layout, take a quick photo so you can recreate it while gluing.
Step 6: Glue the Flowers
Apply tiny dots of glue to the back of each flower or petal. Press gently into place and hold for a few seconds.
Work slowly and glue one piece at a time.
Pro Tip: Too much glue can soak through delicate petals and cause discoloration. Less is more.
Step 7: Let It Dry
Let your artwork dry flat for at least 30–60 minutes before moving or framing it.

Step 8: Finish and Display
You can frame your pressed flower art, turn it into a handmade card, or add it to a journal or scrapbook.
For best preservation, keep it out of direct sunlight and away from humidity.
Common Problems (and How to Fix Them)
Flowers turn brown
They likely weren’t fully dry before pressing or were too thick. Try thinner blooms next time and allow more drying time.
Petals tear while gluing
Use tweezers and apply smaller dots of glue.
Paper curls or warps
Your background paper may be too thin. Use cardstock or watercolor paper for better support.

Creative Ideas for Pressed Flower Art
Once your flowers are pressed and ready, there are lots of ways to turn them into beautiful projects. Here are some ideas:
- Botanical name labels: Add small tags with the plant’s scientific or common name for a curated, museum-style look. Perfect if you want your artwork to feel like a professional collection.
- Color-themed designs: Arrange flowers by color — for example, all pink blooms together or a rainbow layout — to create a visually striking piece.
- Seasonal collections: Highlight flowers from a particular season, like spring blossoms or autumn leaves, to make themed artwork that captures a moment in time.
- Framed wall art: Display your pressed flowers in a frame for a timeless, decorative piece in your home.
- Handmade cards or bookmarks: Use small pressed flowers to make personalized gifts, greeting cards, or functional bookmarks.
- Journal covers or gift tags: Add pressed flowers to journals, notebooks, or handmade tags for a unique, natural touch.
Pro Tip: Keep extra pressed flowers stored between sheets of paper inside a book or folder. That way, when inspiration strikes, you already have materials ready for your next project.
Final Thoughts
Once you’ve made your first piece of pressed flower art, it becomes hard not to notice how many moments are worth preserving — a bloom from your yard, a leaf from a favorite walk, or flowers from a meaningful day. Each piece becomes a small reminder of time and place, turned into something decorative and lasting.
Pressed flower art isn’t about perfection. It’s about slowing down, paying attention, and turning simple natural beauty into something you can keep. With a little patience and practice, it becomes a craft that’s as calming to make as it is to look at.